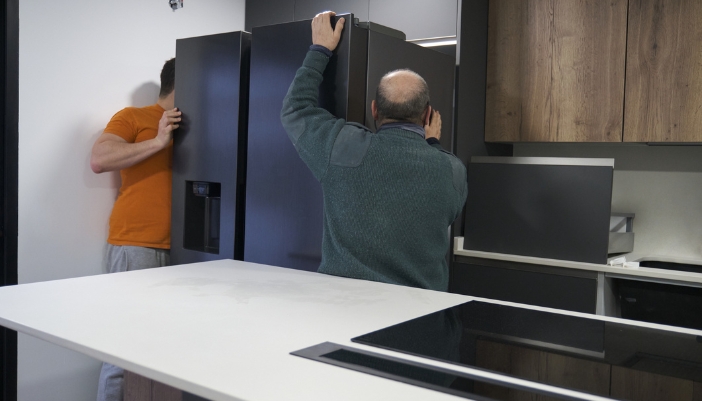
Replacing a Sub-Zero built-in refrigerator can be a significant project, but it's certainly doable. Here's a step-by-step guide to help you through the process:
1. Measure Your Space: Before you start shopping for a new refrigerator, measure the dimensions of the space where your Sub-Zero currently resides. Sub-Zero built-in units often come in specific sizes, and you'll want to ensure that your new refrigerator fits snugly into the existing space. Thermador, Monogram, Jenn-Air, Dacor, SKS, True, KitchenAid, and Cafe all have great options to fit in the same space now with much more innovation in their products than Sub Zero for typically more affordable prices.

2. Select a Replacement: Choose a new refrigerator that fits the dimensions of your space and meets your needs in terms of capacity, features, and design. Make sure it's compatible with the existing cabinetry and ventilation requirements. You may want to consult with a professional to ensure a seamless fit. This SKS model option has been the most purchased option to replace a 48" Sub Zero Built-In Refrigerator.
.gif)
3. Prepare the Area: Clear out the area around your Sub-Zero refrigerator. Remove any items stored in or around the unit, and disconnect it from the power source. If your Sub-Zero is plumbed for water and ice, turn off the water supply and disconnect the water line.
4. Remove the Old Refrigerator: Uninstall your Sub-Zero refrigerator by following the manufacturer's instructions. This often involves turning off the power supply, disconnecting water lines, and carefully removing any trim or paneling that may be concealing the unit's mounting screws. Once everything is disconnected, you can carefully slide the refrigerator out of its space.
5. Prepare for Installation: If your new refrigerator requires any modifications to the existing cabinetry, such as adjusting the height or width of the space, you'll need to do this before installing the new unit. Follow the manufacturer's instructions for any necessary modifications.
6. Install the New Refrigerator: Carefully slide the new refrigerator into the space, ensuring it fits securely. Reconnect any necessary utilities, such as water lines, and follow the manufacturer's installation instructions. This may include securing the unit to the floor or wall, leveling it, and connecting it to the power supply.

7. Test the New Refrigerator: Once the new refrigerator is in place and properly connected, test all of its functions to ensure they work correctly. Check for proper cooling, ice production (if applicable), and water dispensing (if applicable).
8. Restore the Surrounding Area: Reattach any trim or paneling that was removed during the removal of the old refrigerator. Make any necessary adjustments to ensure the new refrigerator looks seamless in your kitchen.
9. Dispose of the Old Refrigerator: Properly dispose of your old Sub-Zero refrigerator according to local regulations. Depending on your area, you may need to arrange for a pick-up or drop it off at a recycling center.
10. Enjoy Your New Refrigerator: Once everything is set up and working correctly, you can start using your new refrigerator and enjoying its benefits.

Keep in mind that replacing a built-in refrigerator may involve some customization work to ensure it fits perfectly into your existing cabinetry. If you're not comfortable with this, it's a good idea to hire a professional installer to handle the job. Additionally, always follow the specific installation instructions provided by the manufacturer of your new refrigerator to ensure it's installed correctly and safely.